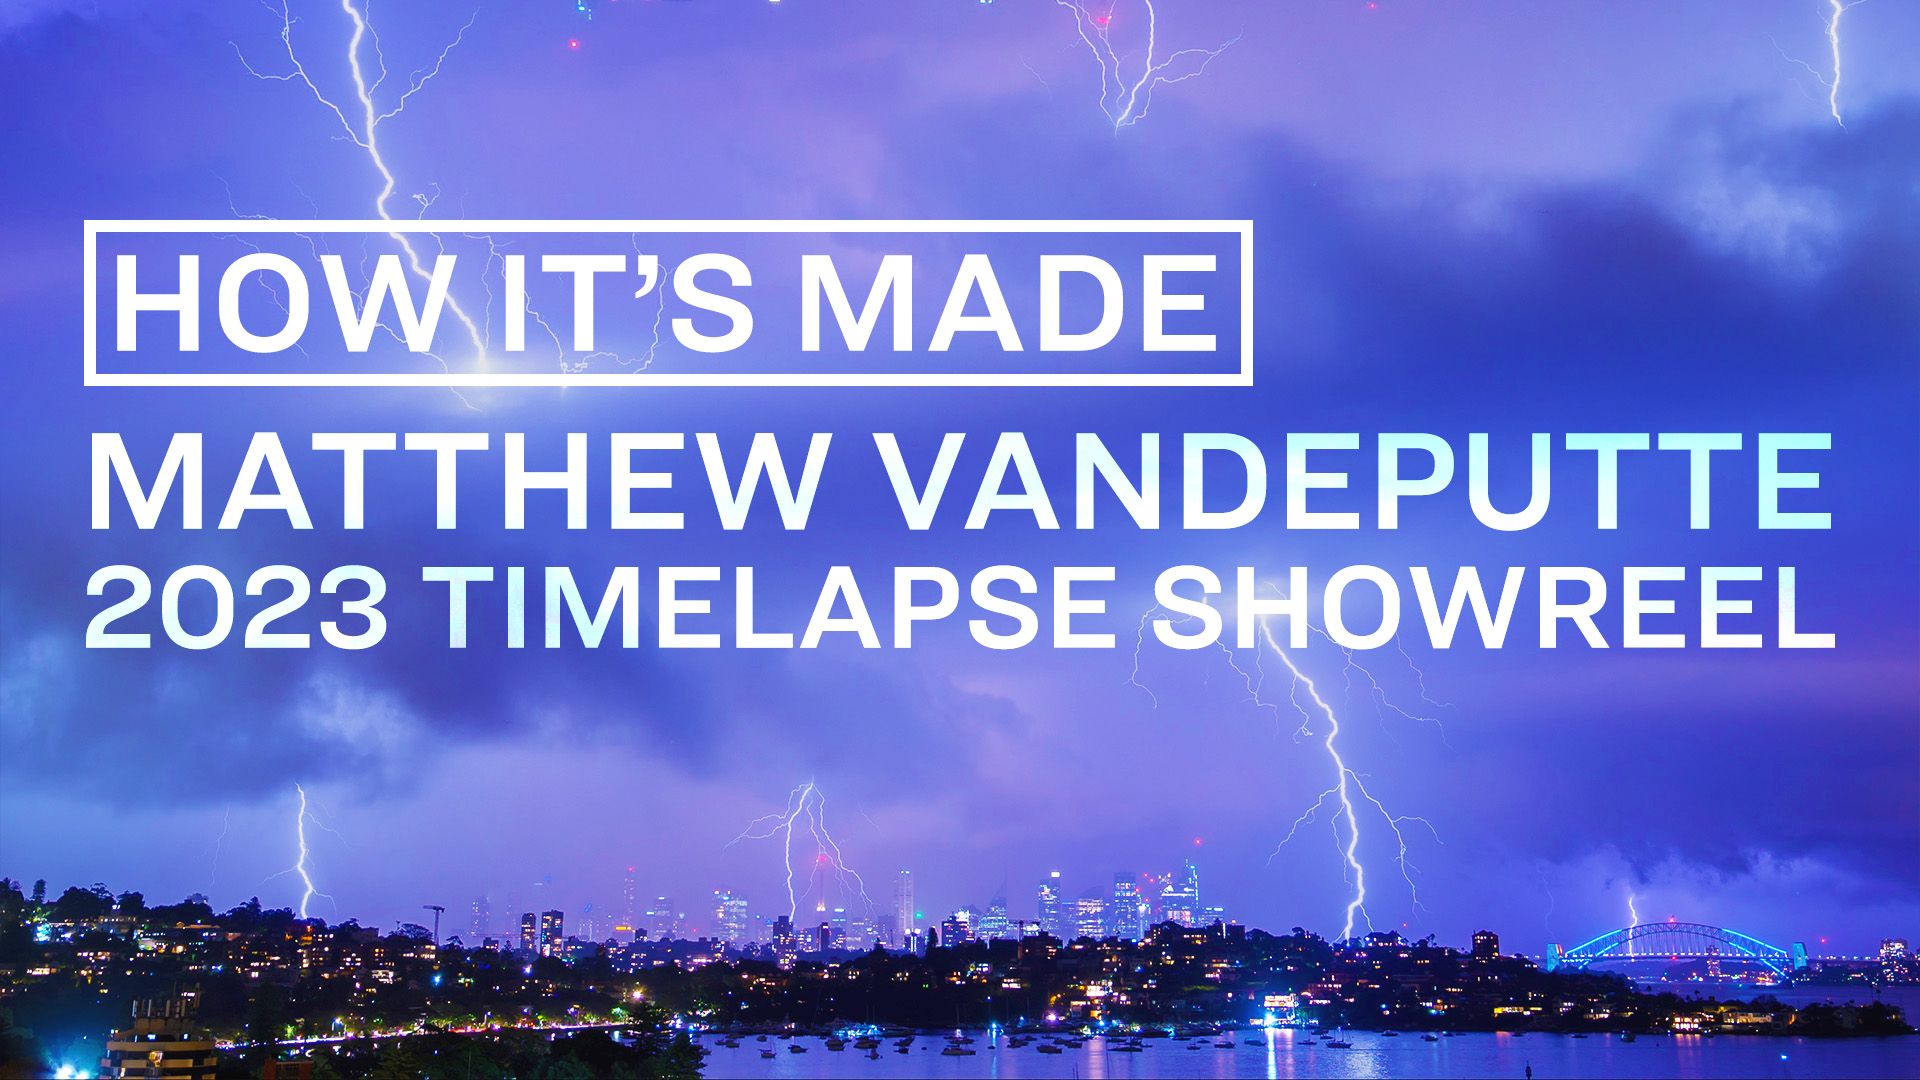
How I Made The Matjoez 2023 Timelapse Showreel
Ten years ago, I created a showreel of timelapse and hyperlapse footage which showed one year of traveling across the world.
Today, ten years later, I have created a new showreel showing ten years of traveling across the world.
In this article, I will explain some of the techniques I used, which camera gear I used, and which software I used to put it all together.
If you haven't seen the new Matthew Vandeputte 2023 Timelapse & Hyperlapse Showreel yet then click play here:
How I Planned This Showreel
Truth be told, there is not much planning involved.
I'm pretty much always shooting a timelapse or a hyperlapse wherever I am.
The result of this is dozens and dozens of hard drives filled with an enormous amount of clips of all kinds of styles and subjects.
When you're shooting and editing for ten years straight, you're going to end up with a ton of footage.
The challenge begins once you start editing.
It's truly a mountain of content you have to sift through.
Luckily I've always had a great file management system, which makes this a lot easier.
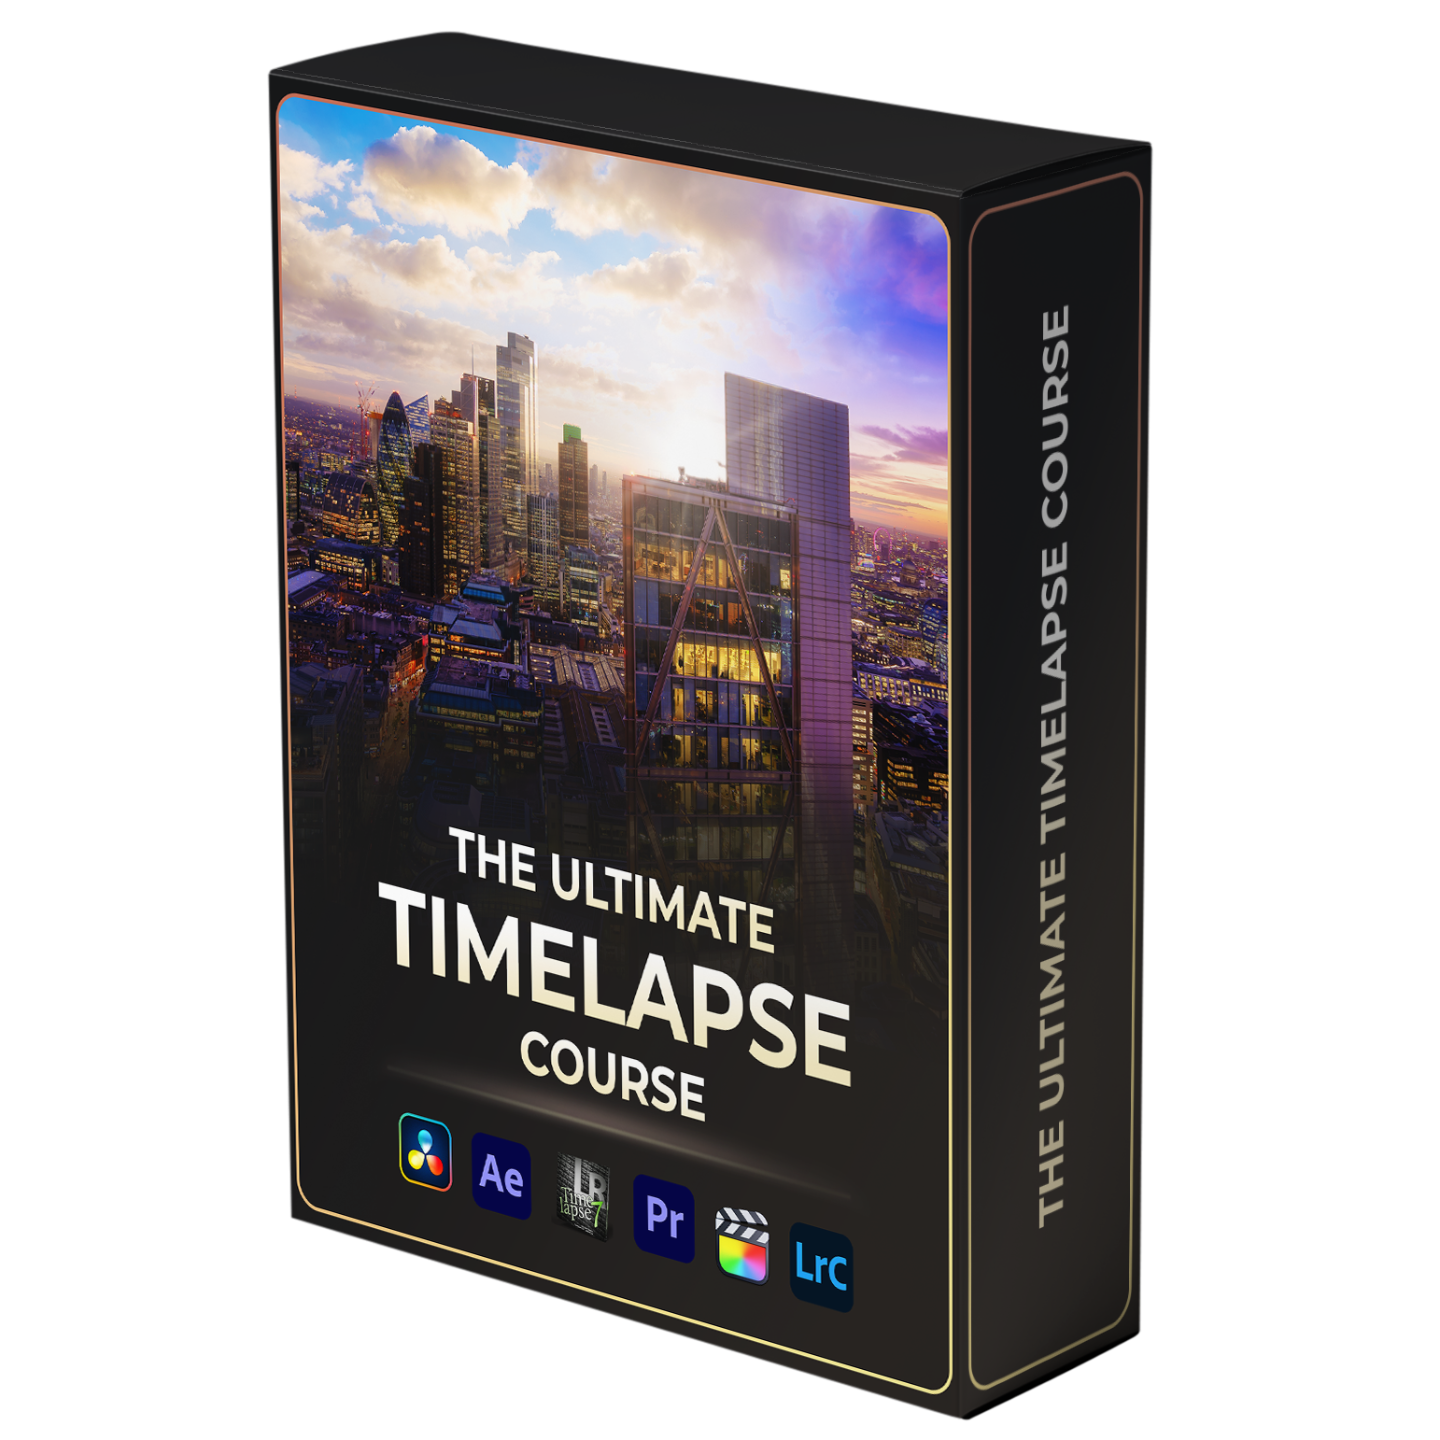
File management is an important aspect of any professional creator's career, so it's only natural that this is a separate module in The Ultimate Timelapse Course.
Which Camera Gear Was Used?
I have been shooting on all sorts of cameras over the last decade.
From my phone to point-and-shoot cameras to Lumix, Canon, Nikon, and other cameras.
I very much live by the saying: "The best camera is the one you have with you".
That being said, the majority of the footage used in this showreel was recorded on the following cameras with an even wider variety of lenses:
- Canon 5DMkIII
- Canon 1DXMkII
- Canon 6DMkII
- Lumix S1
- Lumix S5II
- Lumix S5IIX
If you'd like to learn more about which camera gear I use from tripods and mounts to motion control and other accessories you can check out my updated Timelapse Camera Gear page.
Which Timelapse & Hyperlapse Techniques Were Used?
The art of photography encapsulates a lot of different styles of shooting like street, studio, portrait, wildlife, macro, travel, etc.
It shouldn't come as a surprise that the subgenre of timelapse photography holds many different styles of shooting as well.
Each of these styles has its own module in The Ultimate Timelapse Course, but where relevant I've linked some of my other relevant articles here as well.
Let's begin with the basic timelapse shot.
The camera captures a RAW photo every few seconds for a minimum of 300 photos.
Using a remote or intervalometer means your timing remains consistent.
Once the light starts changing like at sunrise or sunset, you need to adjust your camera settings.
This technique is called a Holy Grail timelapse, because it used to be hard to achieve.
If you're capturing the night sky, using much longer exposures and much chillier environments, you end up in the astrophotography timelapse realm.
Once you mount the camera on a moving platform to create a so-called parallax effect with the foreground, you're talking about motion control timelapses.
Move the camera even further and you start talking about one of my favorite styles of shooting: Hyperlapse photography.
With clever editing, you can combine all these different styles and more to create a captivating and immersive experience for your audience.
These three types of timelapse are all free lessons you will find when you sign up for The Time Warper Weekly, my newsletter for all things timelapse.
As the question gets asked more than you'd think, let's talk about some of the software I used to edit this showreel together.
Which Timelapse Software Was Used?
As I mentioned at the start, the footage shown in this showreel was shot over the span of a decade.
With millions and millions of RAW photographs captured and stored on many dozens of hard drives, file management becomes incredibly important.
To ensure easy access, recovery, or remastering of older sequences, I always use the exact same file and folder structure.
I achieve this with the free app Post Haste, for which I've created a Timelapse Template which comes with these timelapse courses.
Once all the footage is offloaded and backed up on hard drives and solid-state drives, I organize and color grade my sequences using Adobe Lightroom Classic.
From here I often jump to LRTimelapse for advanced editing of keyframes, and After Effects or DaVinci Resolve Studio to transcode or render the photographs into high-resolution video files.
If you'd like to see an up-to-date article about which software I use today, check out this dedicated Timelapse Software And Plugins page.
Have a look at the video below to find out what kind of work goes into creating a 360 hyperlapse loop of a building.
The above project was turned into a whole new module on The Ultimate Timelapse Course, which goes into much more detail over the course of 10 exclusive lessons.
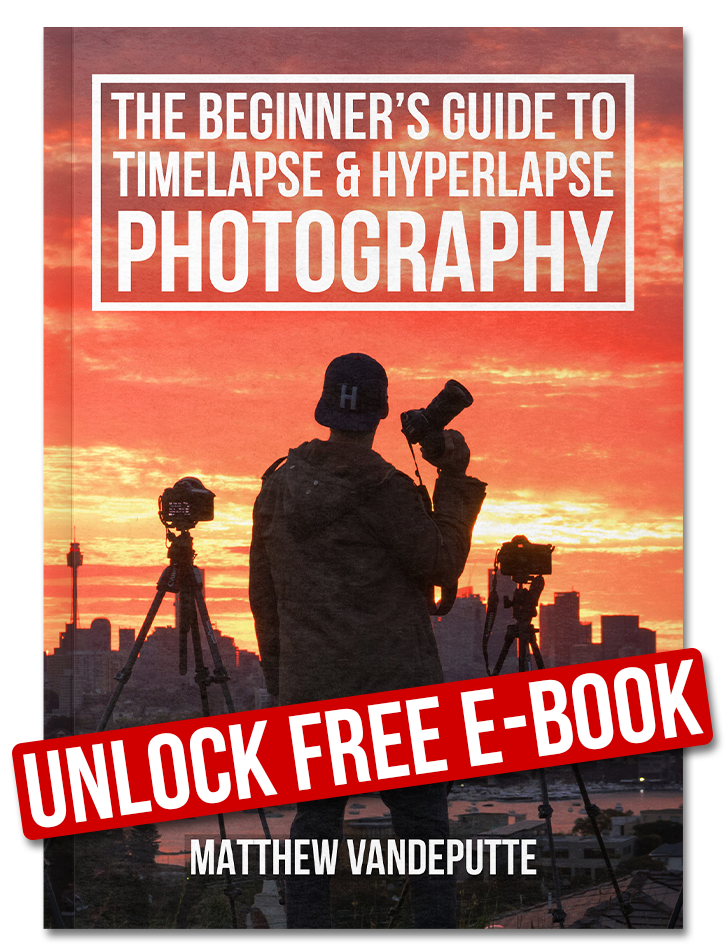
If you're not ready to commit to the courses, I can highly recommend you my free e-book about timelapse and hyperlapse photography.
Go here or click the image to download your free copy.
If you have any questions or comments, I'd love to hear from you.
Feel free to follow along on my other channels which you can find here.
Thanks for reading, and may the clouds be in your favor.
Matthew
Start Your Timelapse Journey With This FREE E-Book 📚
Subscribe to The Time Warper Weekly and get access to my brand-new e-book about timelapse & hyperlapse photography.
Plus, you'll get a nice store discount 👍🏻

Download this FREE new e-book 📚
This comprehensive guide teaches you all the ways you can make money with timelapse photography.
About The Author

Matthew Vandeputte
Matthew Vandeputte is a timelapse & hyperlapse photographer with over a decade of experience. Currently living in London, Matthew has worked with the world's biggest brands and agencies to bring the art of timelapse to millions of screens all over the world.
Start Your Timelapse Journey Today 📸
Become a master of timelapse and hyperlapse with over 135 exclusive videos, software and gear discounts, a 142-page e-book, Lightroom Presets & LUTs, and so much more.
