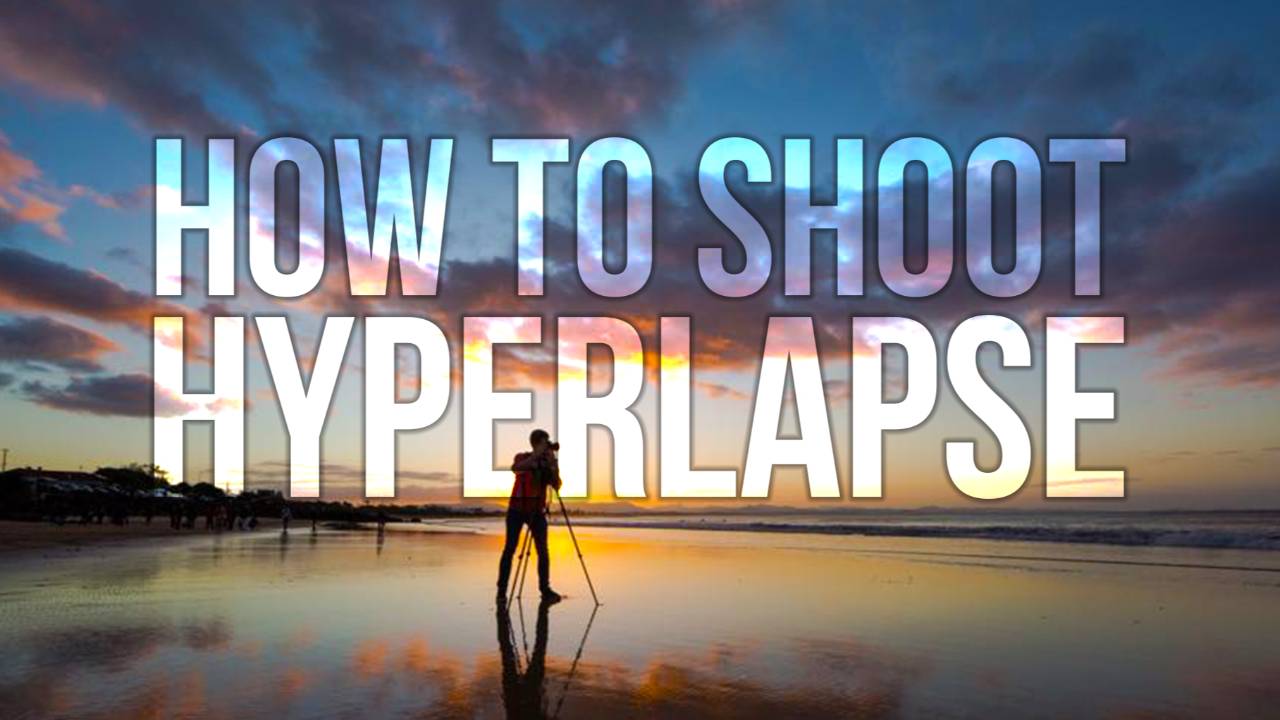
How To Shoot And Edit a Hyperlapse
Alright, you now know how to shoot and edit both a basic timelapse as well as a holy grail timelapse.
Let's move on to the niche within a niche called hyperlapse photography!
In this tutorial, you will learn the easiest way to shoot a hyperlapse.
You don't need any fancy equipment, you don't need an expensive camera or lens, this technique works for any camera, even your mobile phone.
I call this the beginner hyperlapse tutorial as it truly is the easiest way to shoot a hyperlapse.
You'll be shooting this handheld, although a monopod makes things much easier on your shoulders.
There are many ways to shoot hyperlapses, but this one is by far the easiest and fastest method to create high-quality results.
1. What do you need to shoot a hyperlapse
People tend to overthink hyperlapse shots.
They really are quite simple.
Here's what you need:
- A camera, but you can shoot on your phone as well.
- A subject, like a building.
- An anchor point on your subject, like a window.
- A path to follow, like a set of tiles.
2. How to shoot a hyperlapse
Scout your location by walking around until you find an interesting subject, anchor point, and a path that you can follow.
You can often find tiles on the floor or posts on a fence or railing to help you with this path.
Make sure your anchor point is visible for the entire path.
I recommend you do a little test walk to make sure nothing obscures the anchor point on your path.
- Set your camera to Manual mode.
- Make sure your exposure settings are fixed to prevent flickering.
- Find an anchor point on your subject.
- Align the anchor point in each photo in the same spot using a focus point in your viewfinder.
- Take a photo, then step forward on your path.
- Align your anchor point, and take another photo.
- Keep your camera level throughout your path.
- Step and shoot along your path, for at least 100 photos.
- Make sure your step size and shooting interval are as consistent as possible,
- When finished, scroll through your photos to get a preview of your hyperlapse.
Now it's time to stabilize the photos you took and render a high-quality video.
3. How to edit a hyperlapse in DaVinci Resolve
DaVinci Resolve is a free and powerful video editor. Download it here.
- Drag the folder with the photos into the Media library, right-click the image sequence and create a new timeline.
- In the timeline select the clip and go to the stabilizer.
- Click the stabilize button and see what it looks like, as you can see this is a very impressive result already.
There are three different methods of stabilizing here.
- Perspective: Very similar to the Warp Stabiliser in Premiere Pro or After Effects.
- Similarity: This adjusts your pan, tilt, zoom, and rotation parameters.
- Translation: This adjusts pan and tilt changes only.
There are more settings you can adjust:
- Camera Lock tries to simulate a tripod-style shot. This is useful for stabilizing handheld static timelapses.
- Zoom tries to get rid of black bars or other black edges on the side of the frame
- The cropping ratio decides how much the software is allowed to crop into the image.
- The smooth slider has an effect on overall smoothness, you can play around with this to find the sweet spot.
- The strength slider increases or decreases the overall effect.
No two hyperlapse shots are the same, so this might be quite a bit of trial and error before you get it right.
If you’re not happy with the result, go to your timeline, right-click the clip and create a compound clip, then apply the stabilizer again and tweak your settings if needed.
The more you shoot the better you’ll be at capturing them, and the less stabilizing you will have to do.
Congratulations, you know how to shoot and edit a hyperlapse sequence!
There are many more things to learn when it comes to timelapse and hyperlapse photography.
Want to skip the free tutorials and go straight to the good stuff?
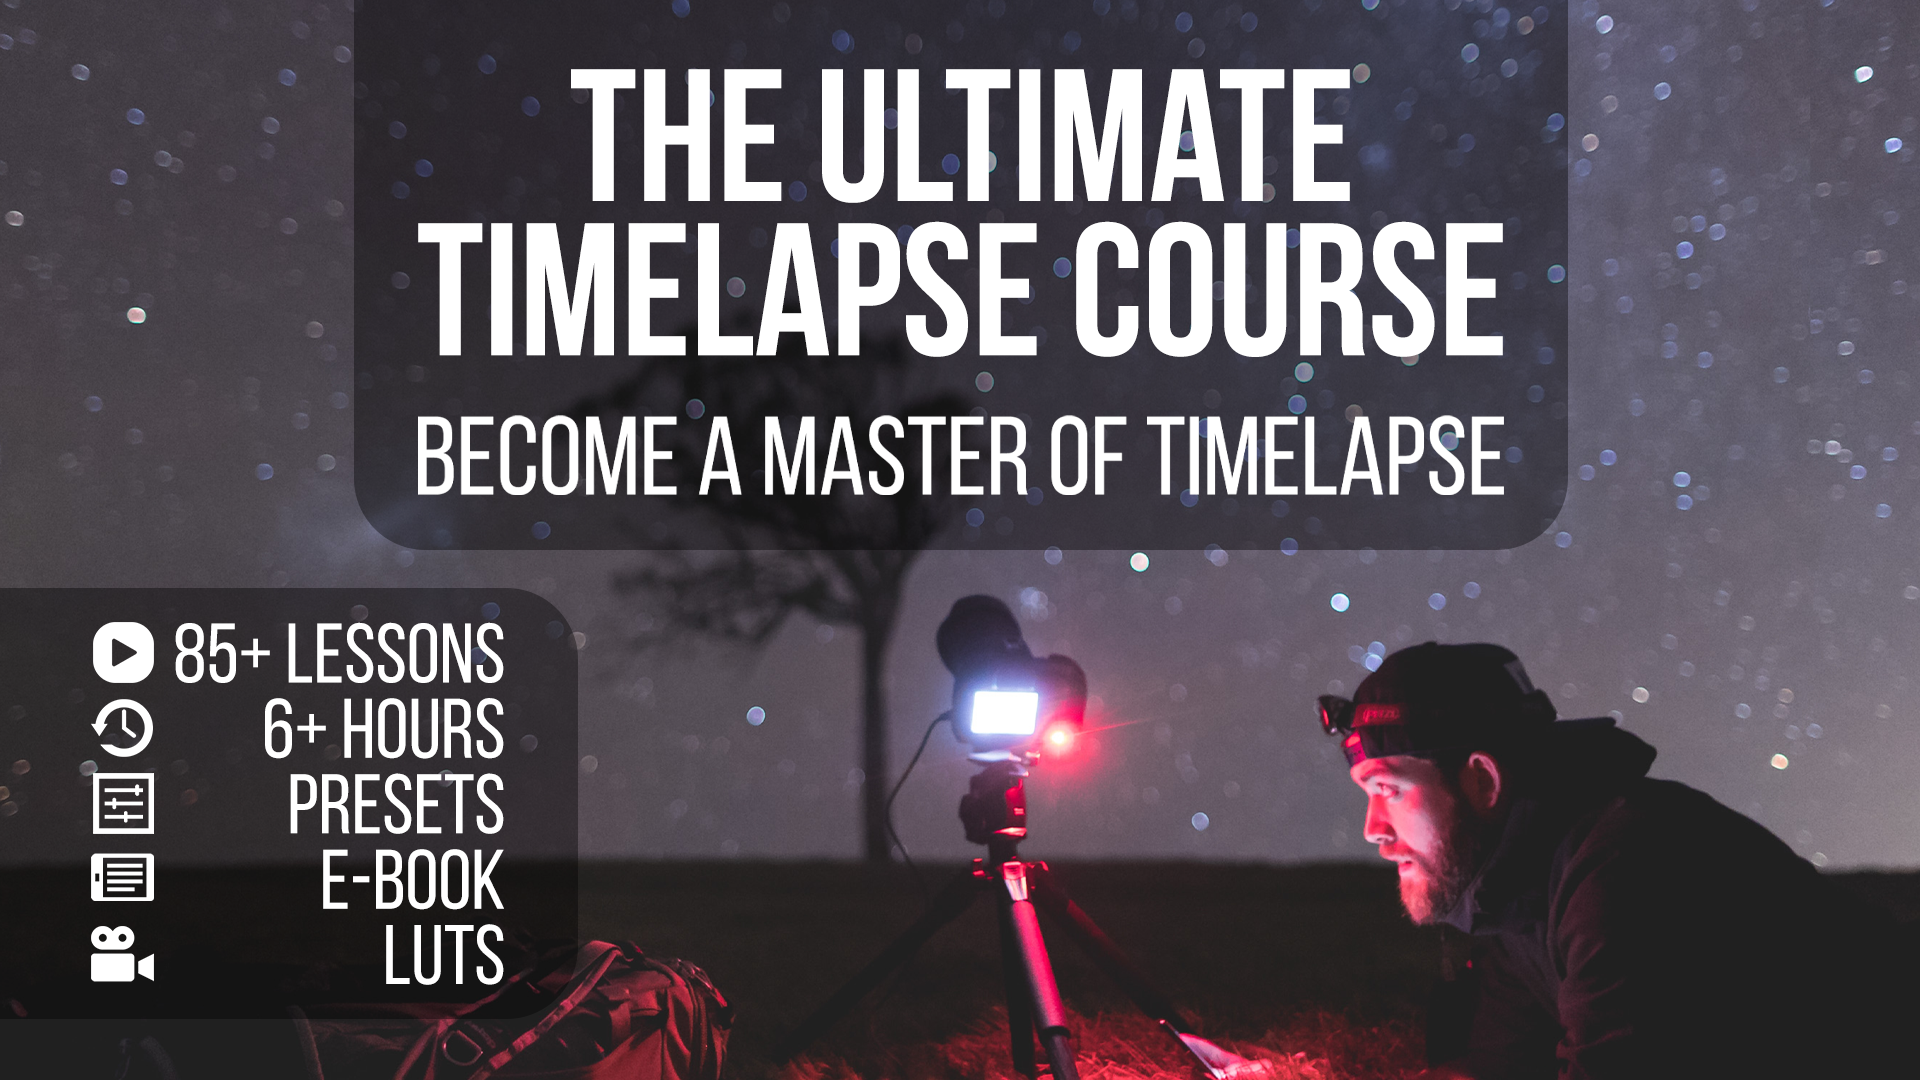
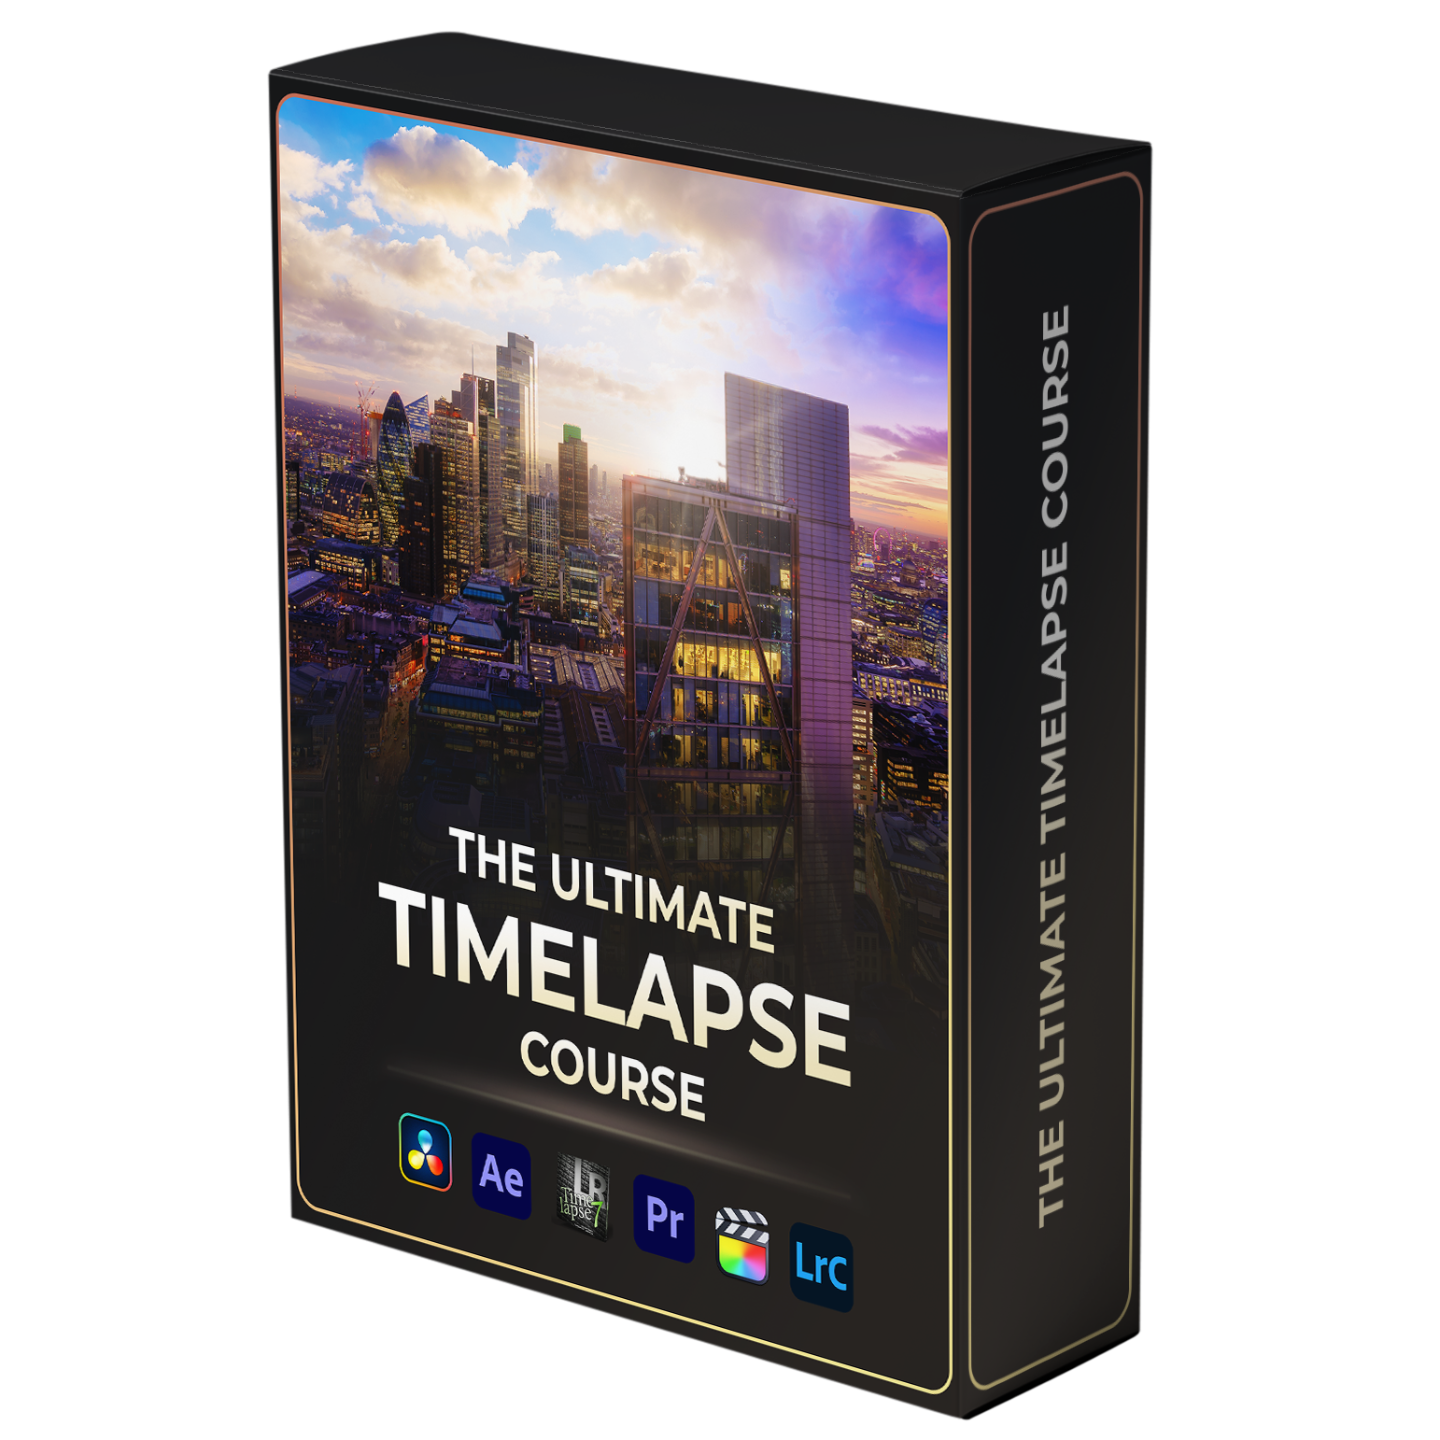
Check out The Ultimate Timelapse Course.
Start Your Timelapse Journey With This FREE E-Book 📚
Subscribe to The Time Warper Weekly and get access to my brand-new e-book about timelapse & hyperlapse photography.
Plus, you'll get a nice store discount 👍🏻

Download this FREE new e-book 📚
This comprehensive guide teaches you all the ways you can make money with timelapse photography.
About The Author

Matthew Vandeputte
Matthew Vandeputte is a timelapse & hyperlapse photographer with over a decade of experience. Currently living in London, Matthew has worked with the world's biggest brands and agencies to bring the art of timelapse to millions of screens all over the world.
Start Your Timelapse Journey Today 📸
Become a master of timelapse and hyperlapse with over 135 exclusive videos, software and gear discounts, a 142-page e-book, Lightroom Presets & LUTs, and so much more.
