Getting Started With Timelapse Photography
Timelapse photography is an incredible art form.
It acts like a looking glass into another temporal dimension.
You see it in all sorts of films, advertisements, and on award-winning TV shows like Breaking Bad.
Today you will learn how to plan, shoot, and edit a basic timelapse sequence.
We call it a “basic timelapse” because the light doesn't change as we're shooting.
For timelapses where the light changes, for example at sunrise, you will need the so-called “holy grail” timelapse tutorial.
Now just because it's a basic timelapse, doesn't mean I'm showing you a plug-and-play workflow.
My goal here is for you to level up your timelapse game to professional standards.
The reason the post-production chapter of this blog has so many steps is that I want to teach you how to create cinema-quality timelapses.
Let's begin with the camera gear!
1. What camera equipment do you need for timelapse photography?
Contrary to popular belief, you don't need expensive equipment to create gorgeous timelapses.
At the very start of my career, I was using an entry-level Canon 600D.
I actually shot quite a few commercial jobs with it.
These days you can get a 600D second-hand for under $200.
So, you don't need a fancy camera, but at the very least, you will need:
- A camera that you can trigger.
- A remote (this can be internal or external).
- A camera mount, to keep your camera steady.
- An interesting subject to shoot.
Have a look at all my recommended timelapse gear on this page here.
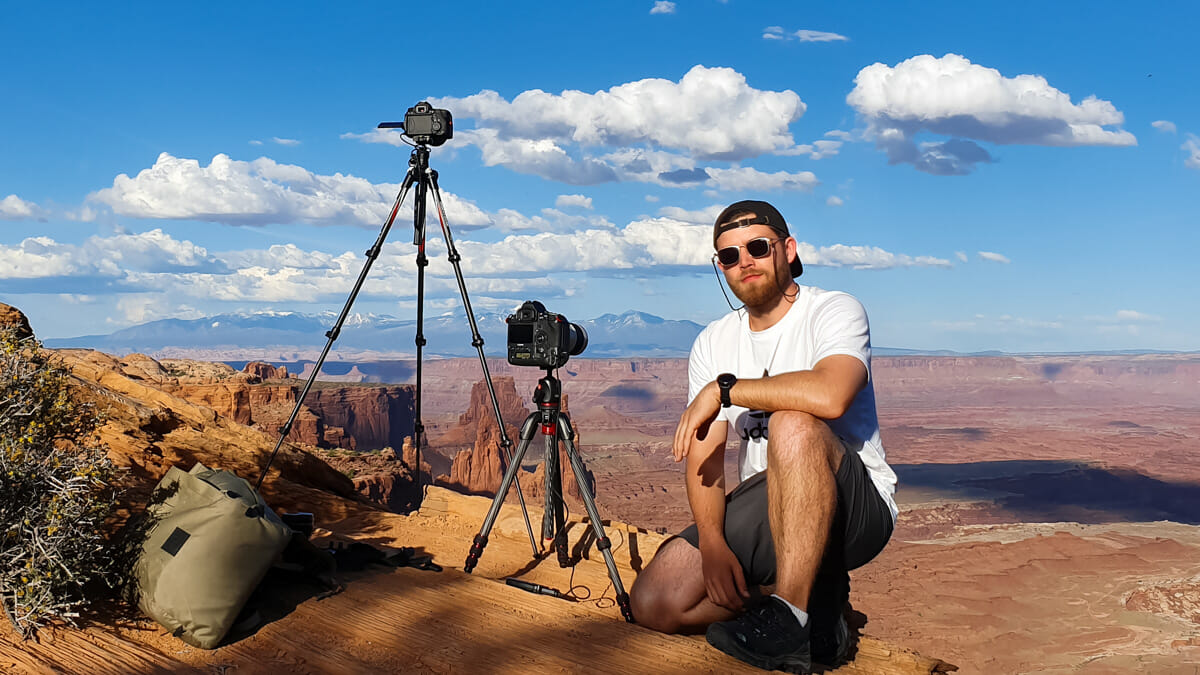
Shooting cumulus cloud timelapses in Canyonlands, Utah.
2. How to set up a basic timelapse shot
So you've got your gear, and you're at an interesting location. What do you do next?
- Mount your camera on your tripod and make sure the entire setup is sturdy and safe.
- Turn on your camera and switch it to Manual (M) mode.
- Make sure you are shooting RAW photos.
- Select the appropriate exposure by adjusting your shutter speed, aperture, and iso values.
- Frame up your composition, and make sure your camera is level.
- Focus your lens and disable autofocus.
- Disable lens and/or sensor stabilization if you have it.
- Grab your remote and connect it to your camera. Select your interval (the number of seconds between taking photos). Use this guideline:
🚗 People & cars ➡️ 1 second interval
🌦 Clouds & cityscapes ➡️ 3 seconds interval
🌅 Sunset & sunrise ➡️ 6 seconds or more
🛸 Night-sky & UFO's ➡️ 20 seconds or more
- Double-check all your settings, and then hit start on the remote, sit back, and relax.
- Let the sequence run for at least 300 photos.
- Once you've shot your photos, hit stop on the remote, pack up your bag, and send me a message on Instagram telling me you've just shot your very first timelapse!
By the way, did you know that this tutorial (and many more) also comes in a handy free e-book called The Basics of Timelapse Photography?
You can download your free copy here.
3. Post-production: Creating video files
As I mentioned at the start of this blog, I want to teach you how to create super high-quality timelapse videos.
To keep this tutorial accessible for everyone I am focusing on free software, which means you need to follow the next steps closely.
If you'd like to skip this specific post-production workflow and go with a simple drag-and-drop approach you can use the apps I've listed on my software page here.
For the next steps you need to:
- Offload your memory cards
- Turn your RAW image sequence into a DNG sequence
- Color grade your DNG sequence
- Export a high-resolution video file
Software-wise I recommend DaVinci Resolve, a free and powerful video editor.

A sunrise timelapse session in Geelong, Victoria, Australia.
3.1 Offloading your memory card
The first thing we need to do is transfer the data from the memory card to a hard drive.
It is much faster to work with Solid State Drives, I mostly use this model.
To find more info about all the hardware I use on timelapse shoots I recommend my gear page here.
You really want to make sure you are efficient with your folder structure and where you put your files.
My timelapse folder structure looks like this:
YYYY-MM-DD-SHOOTNAME
YYYY-MM-DD-SHOOTNAME-PROJECTFILES
YYYY-MM-DD-SHOOTNAME-RAW
YYYY-MM-DD-SHOOTNAME-RENDERS
For example:
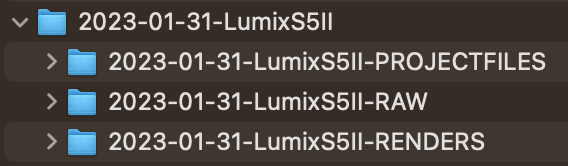
The PROJECTFILES holds all the project files.
The RAW folder holds all the image sequences.
The RENDERS folder holds all the exported video files.
This might seem like overkill, but future you will be grateful that you've organized all your files and folders properly.
I have been using the same folder structure for almost ten years now.
I can easily find the original RAW files or project files of a specific shot in case I get a licensing request.
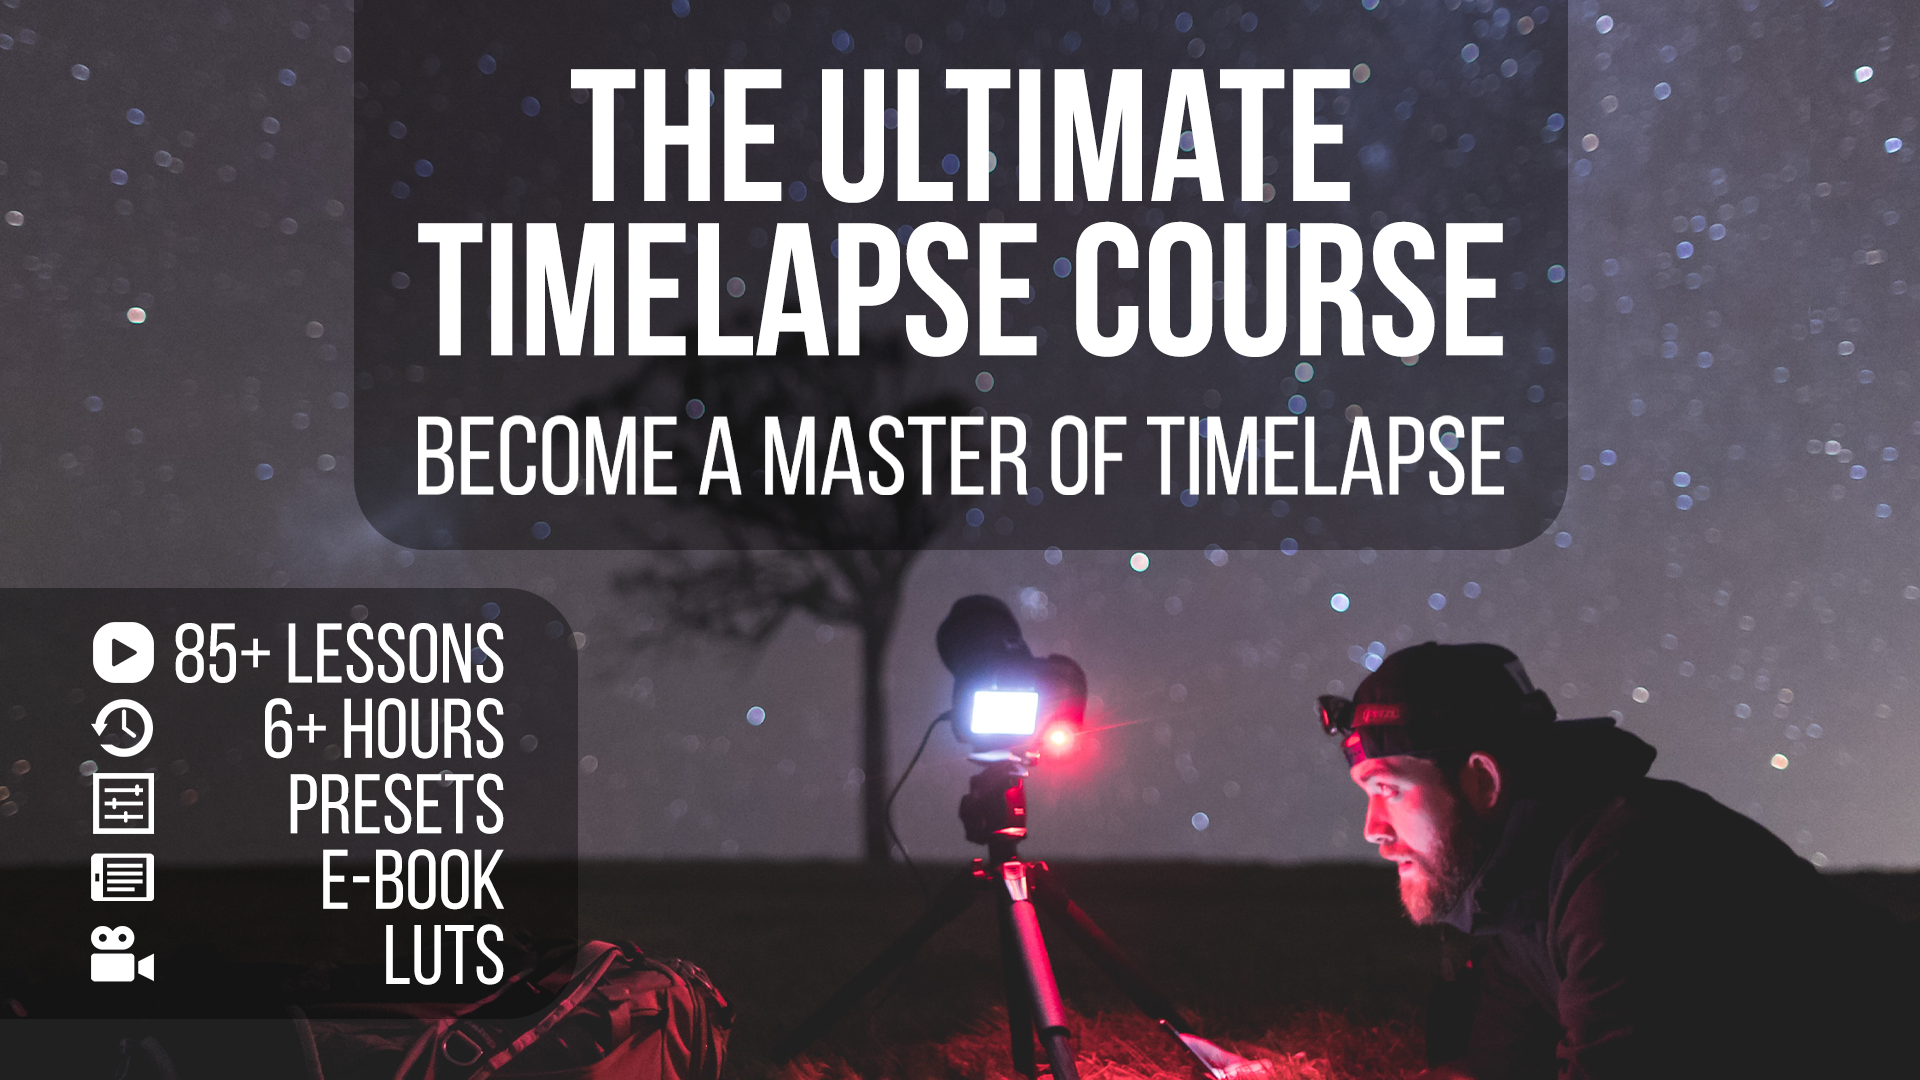
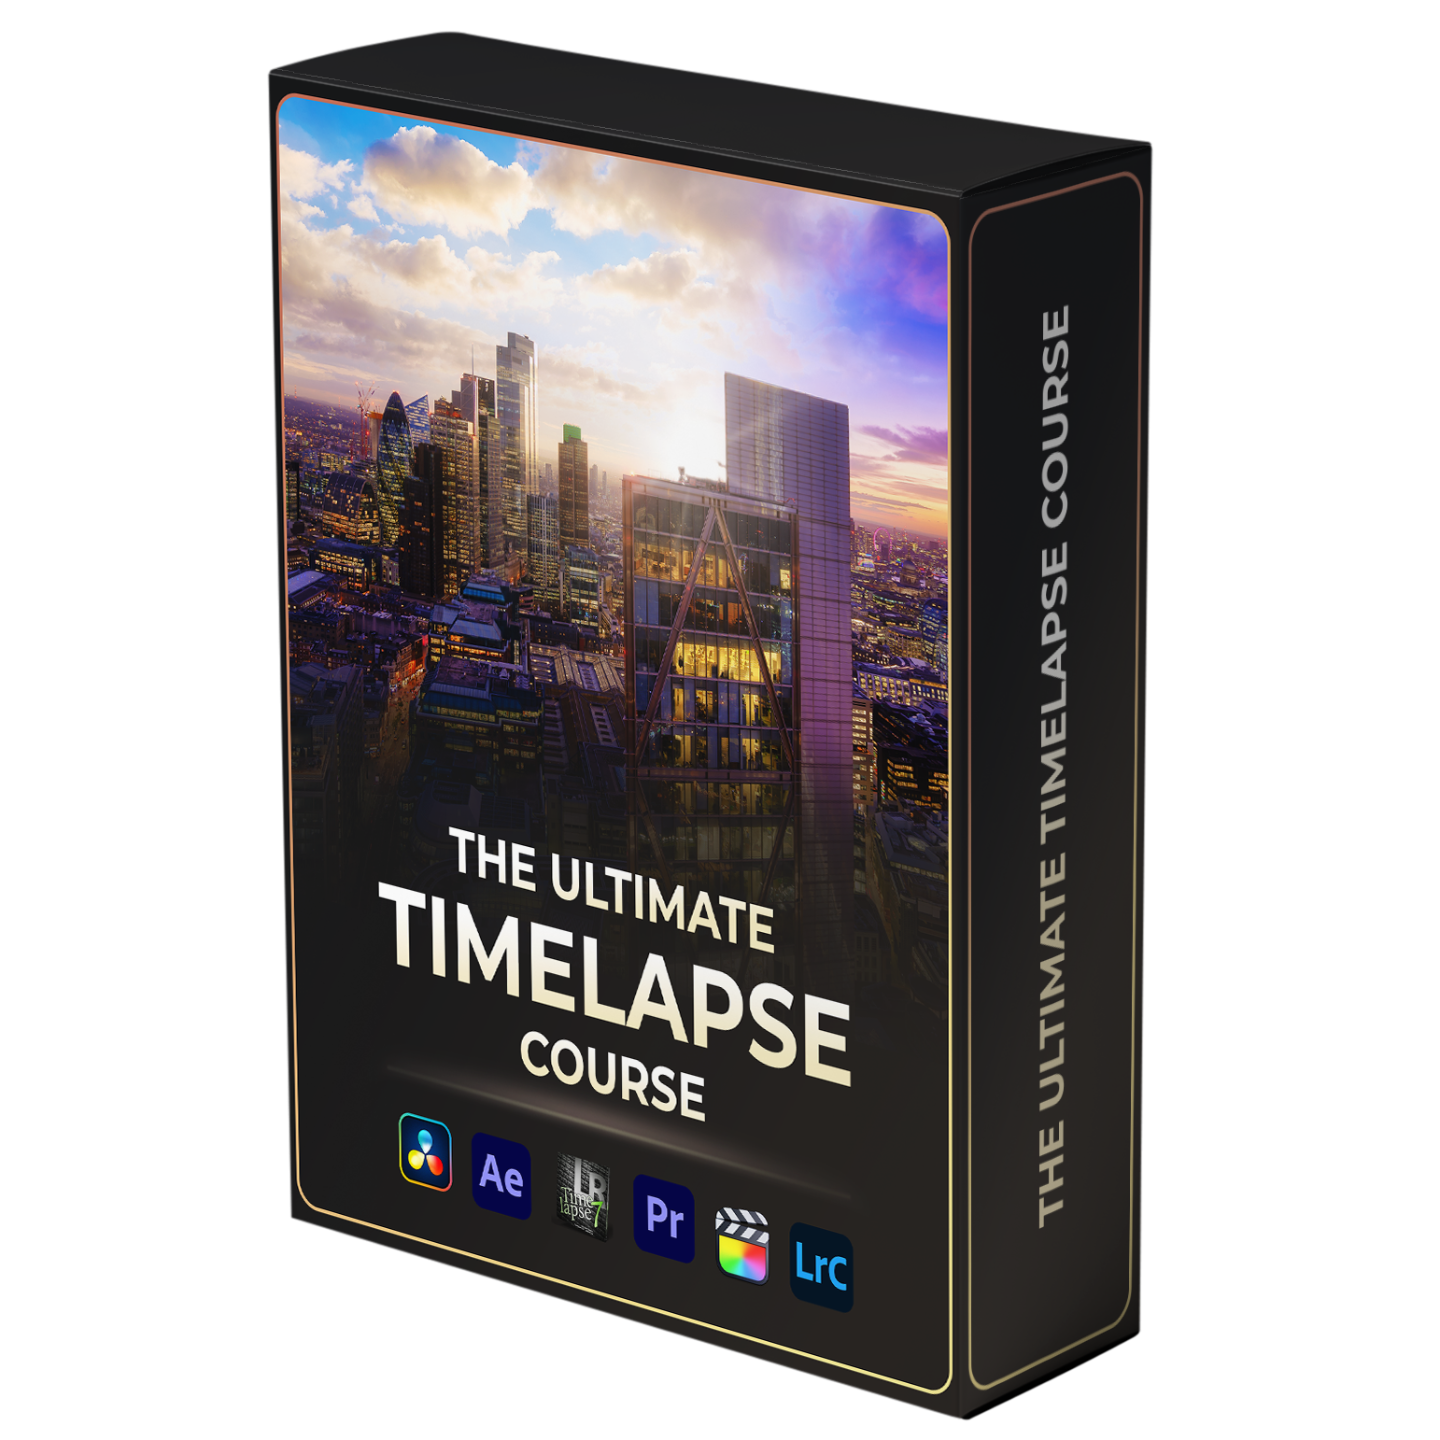
If you want to find out more about how to make money from licensing timelapse footage then check out The Ultimate Timelapse Course.
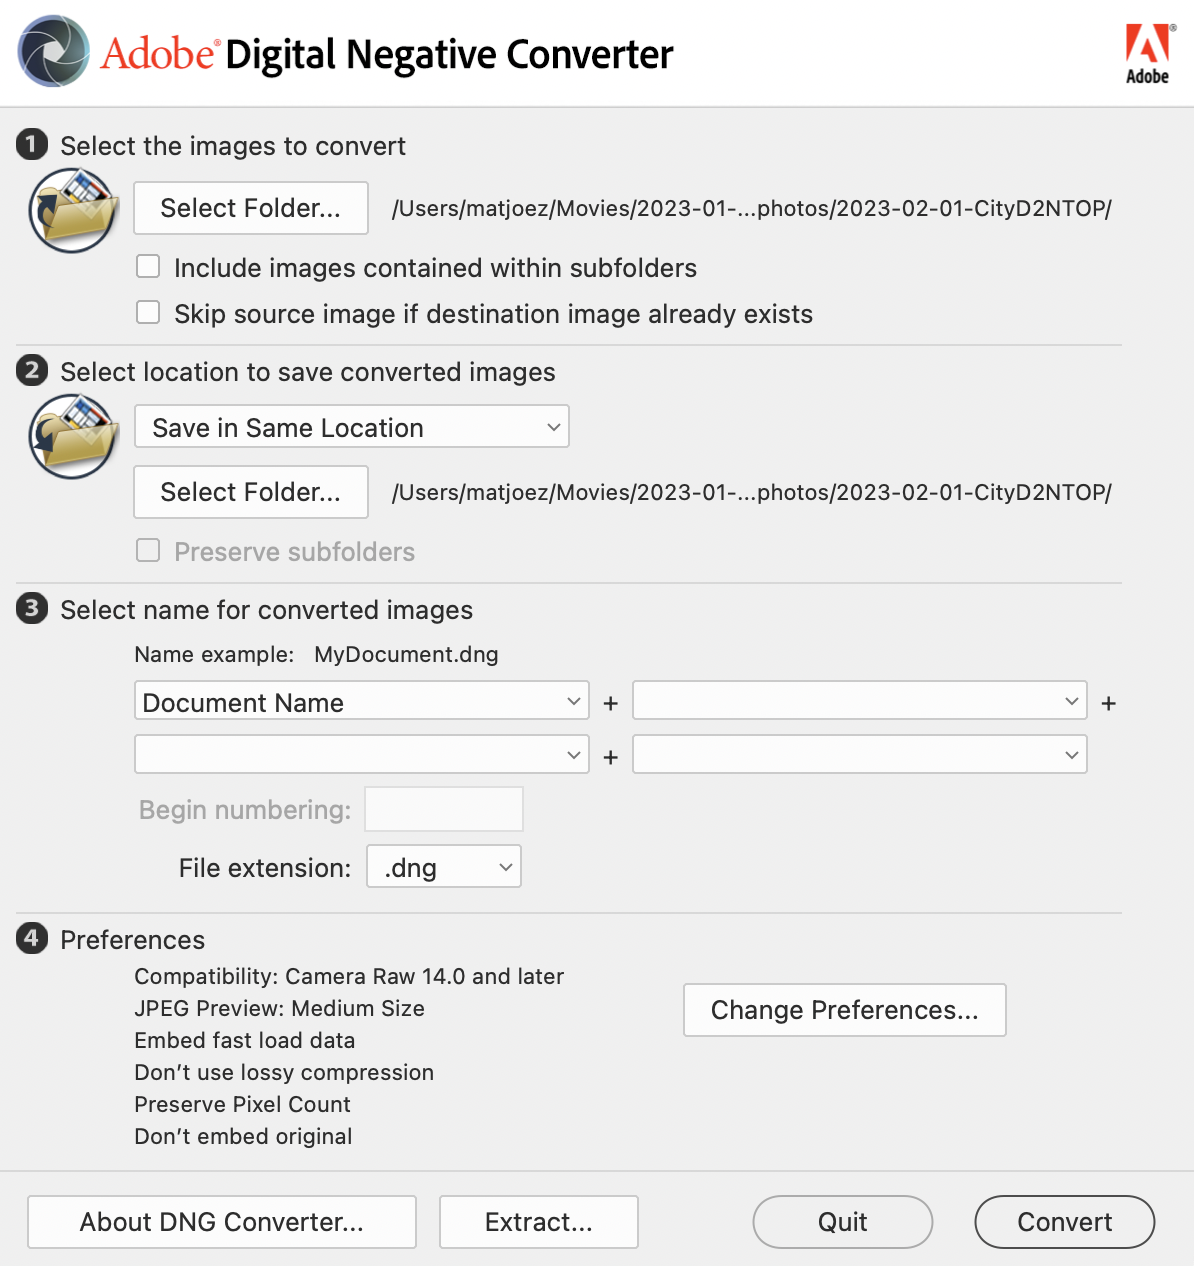
3.2 Turning your RAW photo sequence into a DNG sequence
Now you need to transcode your RAW files to DNG files.
RAW files don't work properly in DaVinci Resolve though, so we need to transcode them.
Luckily, DNG files work much better and are very similar to RAW files.
- Download the free Adobe DNG converter here.
- Open Adobe DNG converter
- Convert your RAW sequence to a DNG sequence as below
3.2 Color grading your DNG sequence with DaVinci Resolve
DaVinci Resolve is a powerful and free video editing application, download it here.
Once installed you need to import and color grade your DNG sequence using the following steps.
- Import the DNG sequence by dragging it into the DaVinci Resolve Media window
- The software should recognize it as an image sequence and effectively treat it like a video file
- Right-click the imported sequence and create a new timeline from it
- Select the clip in the timeline and go to the Colour tab
- Add a color grade according to your preference
- Export the timeline to a ProRes (or another codec) video file using the Deliver tab
I've created the below video showing the process in detail:
Congratulations!
Now you know how to plan, shoot and edit a basic timelapse sequence!
Up next is the slightly more challenging but ever-so-rewarding holy grail timelapse.
Want to skip the free tutorials and go straight to the good stuff?
Check out The Ultimate Timelapse Course.
Start Your Timelapse Journey With This FREE E-Book 📚
Subscribe to The Time Warper Weekly and get access to my brand-new e-book about timelapse & hyperlapse photography.
Plus, you'll get a nice store discount 👍🏻

Download this FREE new e-book 📚
This comprehensive guide teaches you all the ways you can make money with timelapse photography.
About The Author

Matthew Vandeputte
Matthew Vandeputte is a timelapse & hyperlapse photographer with over a decade of experience. Currently living in London, Matthew has worked with the world's biggest brands and agencies to bring the art of timelapse to millions of screens all over the world.
Start Your Timelapse Journey Today 📸
Become a master of timelapse and hyperlapse with over 135 exclusive videos, software and gear discounts, a 142-page e-book, Lightroom Presets & LUTs, and so much more.
